|
Annoyingly we now hit a big gap in picture taking, so I'll attempt to
explain what I did before the next set of pictures!
The first thing I did was to bring the fingerboard and
corresponding
section of the neck down to the right size, I did this using a Japanese pullsaw (Wonderful tool) and a small block plane. I then used a 12"
radius block (from
CraftSupplies)
to put the radius on the fretboard. Then I fretted the board using a
hammer and a piece of maple as a buffer between the hammer and the
frets, I also dabbed the length of the fret tangs with superglue to help
hold the frets in. I also started shaping the neck..
and so we end up at this stage...

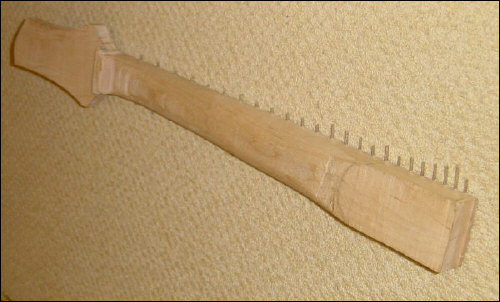
At this point I started the get down to work on the neck, further
shaping of it using a spokeshave and rasp, along with cutting the fret
ends that were sticking out off, the headstock shape was also sanded
closer to the mark and a coat of lemon oil was applied to the
fingerboard.
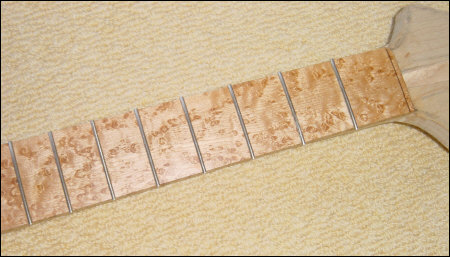
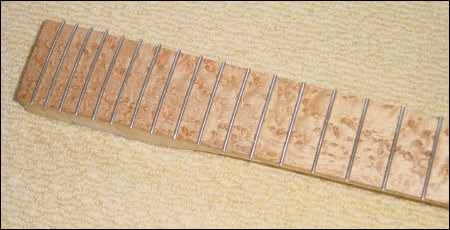
As you can see, the lemon oil really brought out the figure in the
birdseye maple.
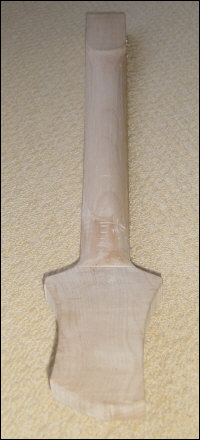
The neck is beginning to come to shape, although a fair bit more work is
still needed.
Next up, more body work!
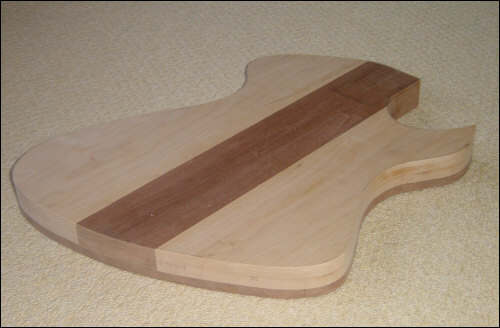
Basically at this point I made a mdf template of the body to use a guide
for the routers flush trim bit. Unfortunately I forgot to take any
pictures of this. Once the template was completed it was stuck to the
body blank with double-sided tape and the flush trim bit was used with
the router to bring the body to shape.
 
|


